Recording
Recording meetings can be a valuable tool for many businesses. With Qik Meeting, you can easily record each and every meeting and refer to them later on. Here's how to use the recording feature:
Start the Meeting: To begin recording a meeting, start a new meeting room or open an existing one. Once you're ready to start the meeting, click on the 'Record' button in the meeting controls. The recording will automatically start.
Stop the Recording: To stop the recording, simply click on the 'Stop Recording' button in the meeting controls. The recording will be saved and stored in the cloud.
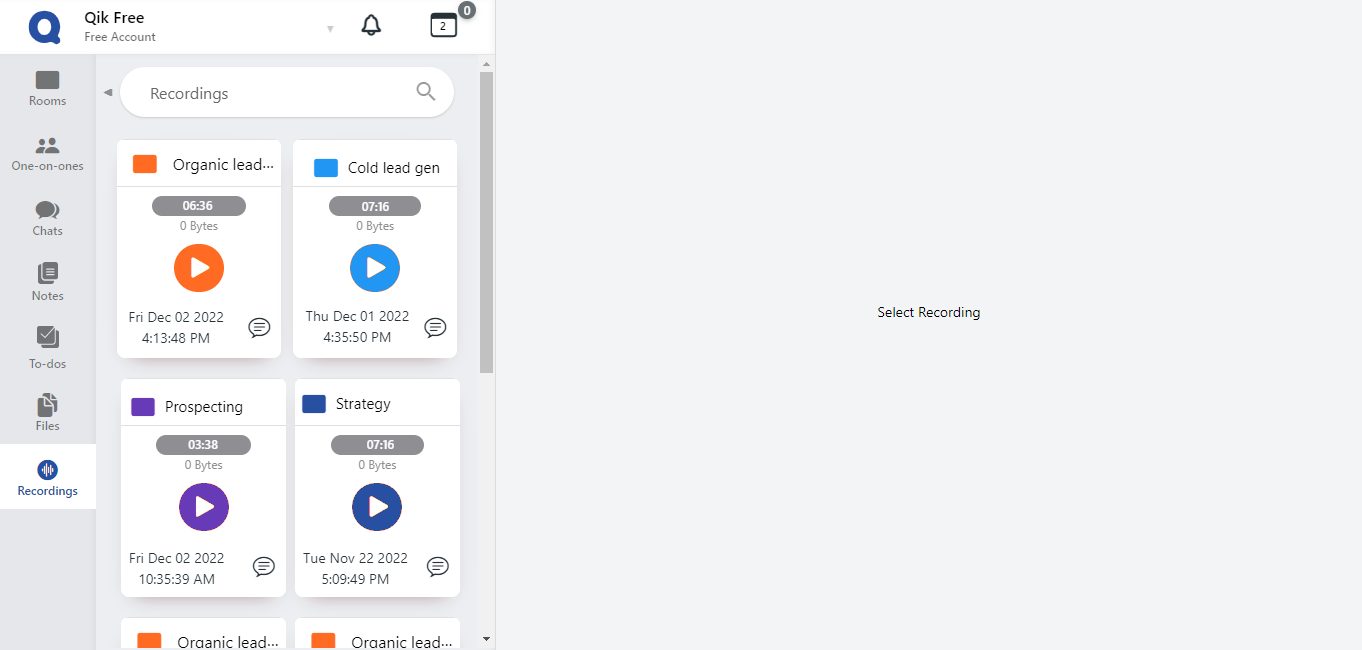
Access the Recording: To access the recording after the meeting, go to the meeting details page and click on the recording icon. You can then download or share the recording with other team members as needed.
With Qik Meeting, you can also automatically transcribe the recording with 99% accuracy, and the integrated minutes of the meeting can be generated and shared with all participants.
Recording meetings can be a powerful tool for many businesses, especially when used in conjunction with other Qik Meeting features such as Action To-dos and Meeting Scheduler. By recording meetings, you can ensure that all important points are captured and can be referred to later on, which can improve communication and productivity.
To get started with recording meetings in Qik Meeting, simply create a new meeting room or open an existing one, and click on the 'Record' button in the meeting controls.
- Record your online meeting
- Record your in-person meeting
- Chat support for recording
- View meeting recordings
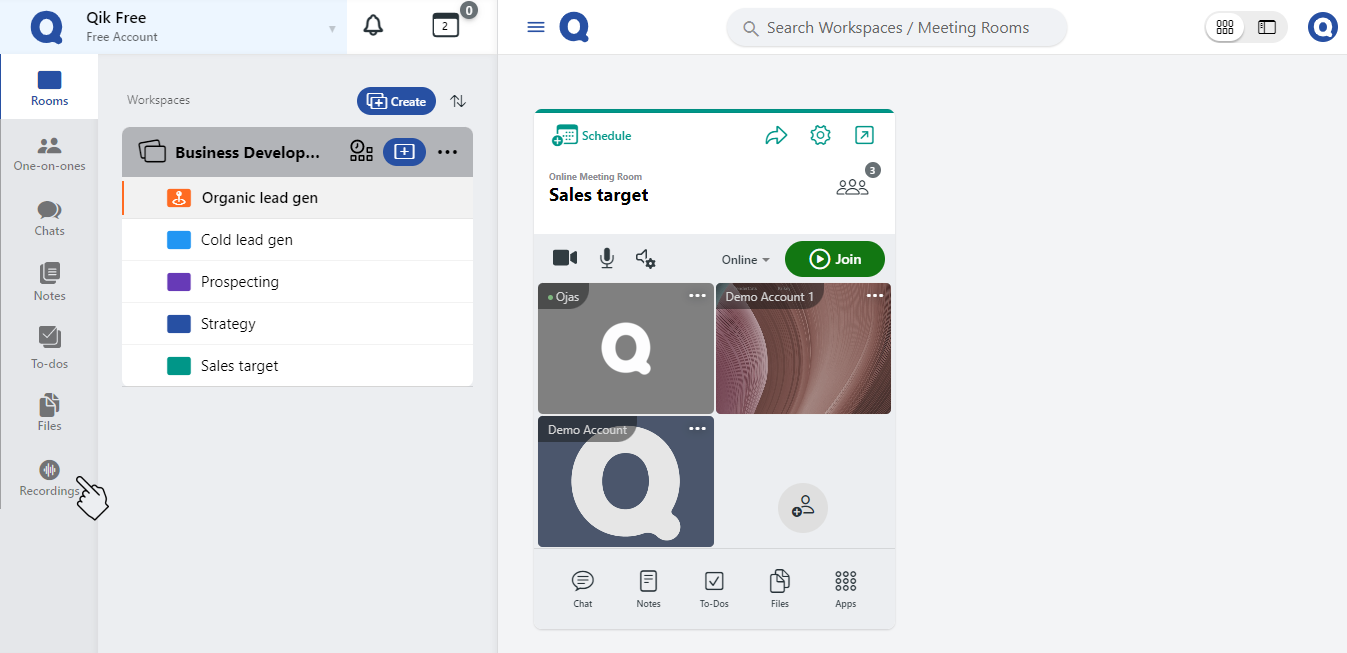
Record your online meeting
- Sign in to Qik Meeting.
- Go to your meeting room and click "Join".

- Once you have joined the meeting, click on the "Record" button.
- The meeting will now be recorded.
Record your in-person meeting
- Sign in to Qik Meeting.
- Go to your meeting room and click on the "Record" button.
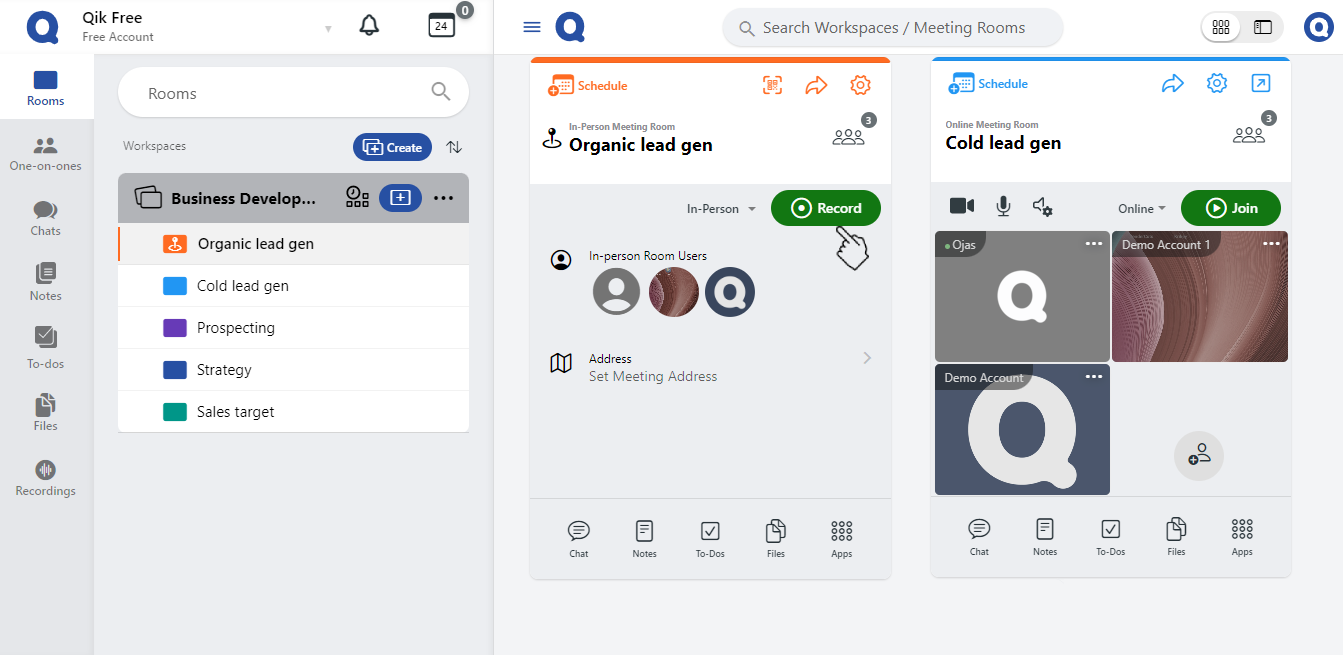
- The meeting will now be recorded.
Chat support for recording
- Go to your meeting room.
- Click on the "Apps" button and select "Recordings".
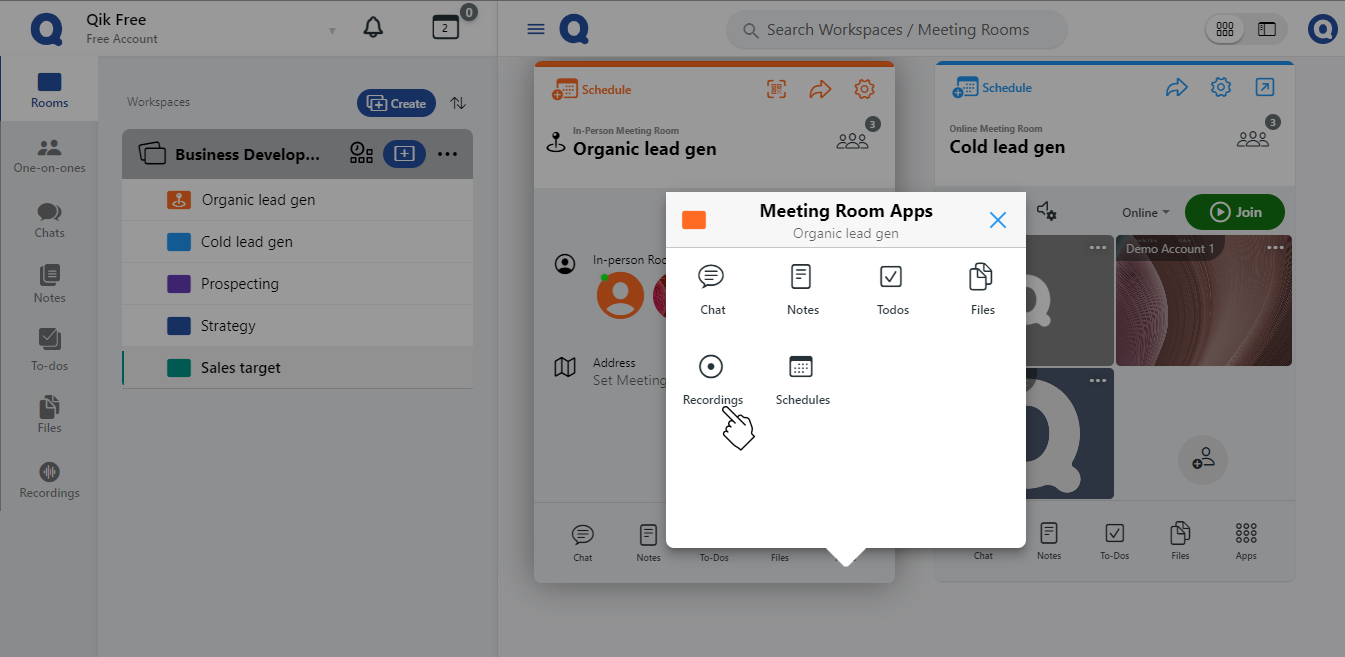
- You can now view your recorded meetings and access additional features, such as the ability to chat from the recordings.
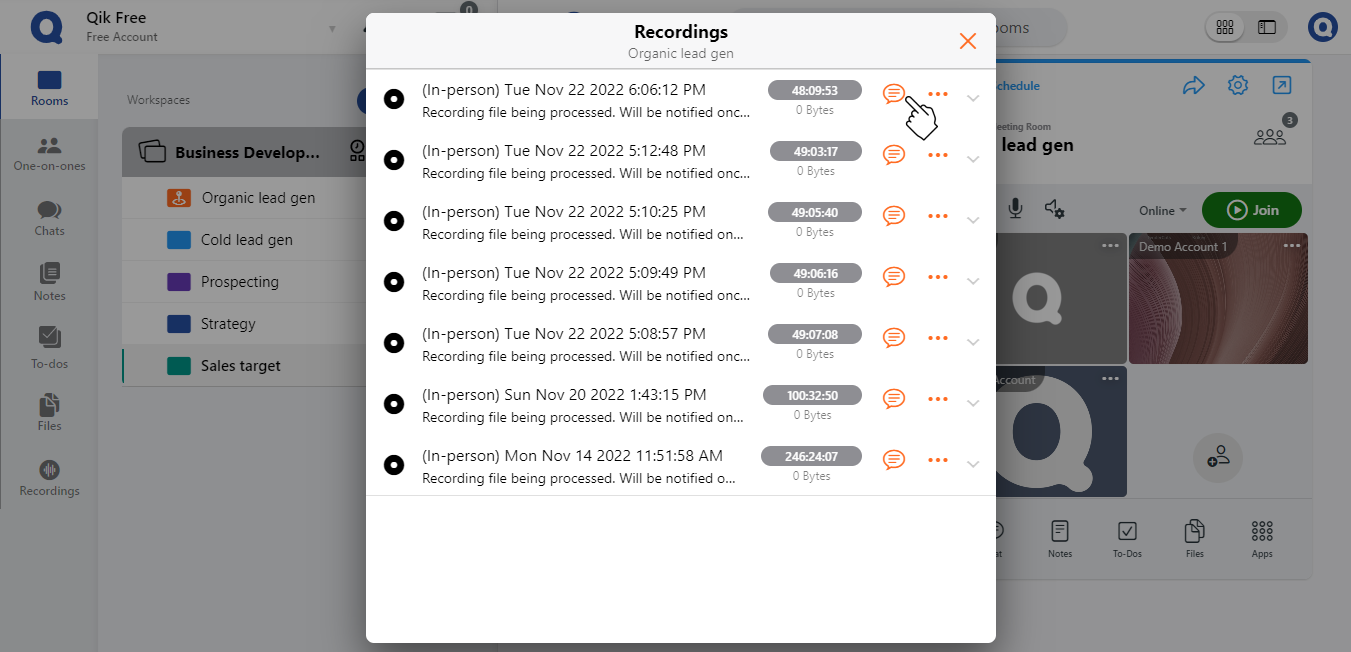
If you have anything important to share after the meeting, you can type it in the provided space.